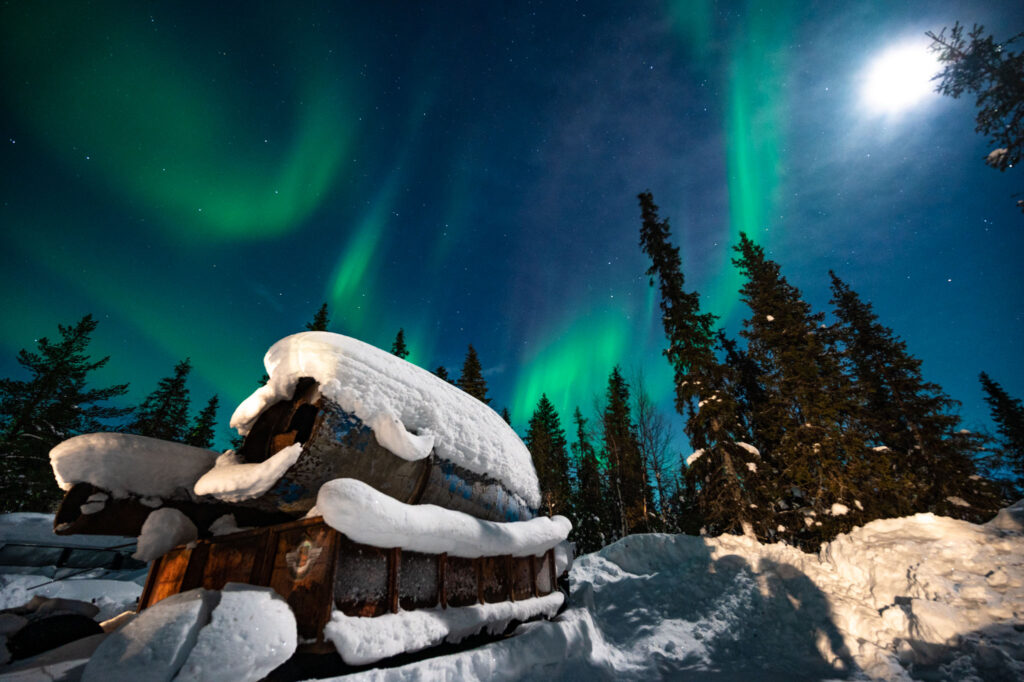
Experiencing the northern lights is magical — but capturing them with your camera can be tricky. In this guide, I’ll share the best camera settings, plus practical tips to help you get great shots on your next tour into the Arctic night.
🌌 Why Photographing the Northern Lights Is Challenging
Unlike daylight photography, you’re working in near darkness with a subject that changes shape and intensity. That means your camera settings need to be carefully balanced to let in enough light without losing sharpness.
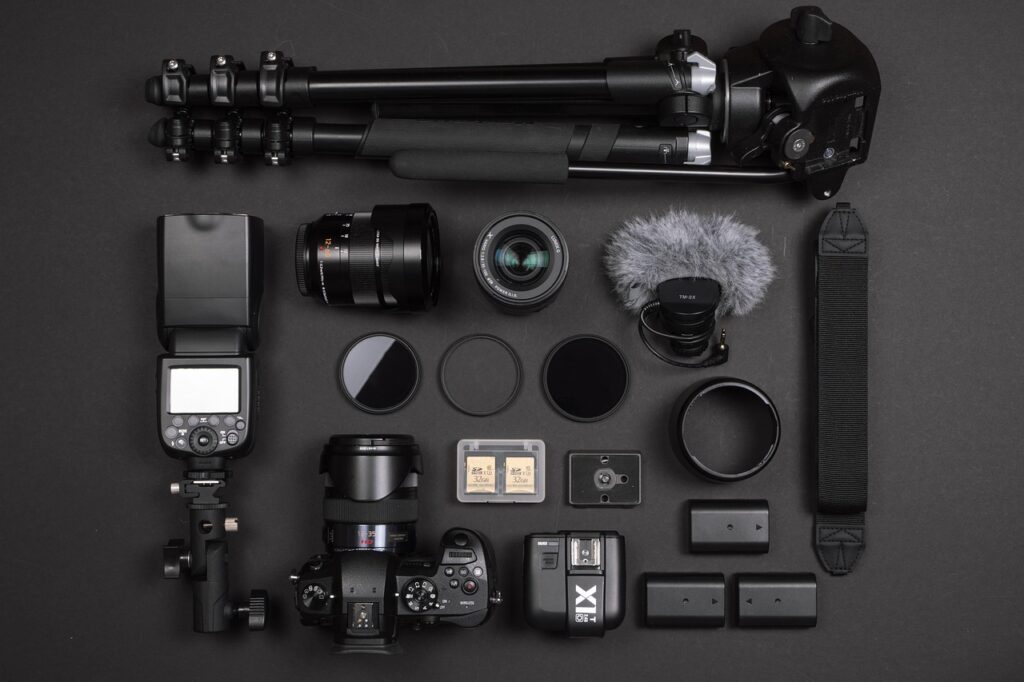
📷 Essential Gear Checklist
- Tripod
- Wide-angle lens
- Extra batteries
- Remote shutter
⚙️ Best Camera Settings for the Northern Lights
These settings are a starting point — you’ll need to adjust depending on brightness and movement:
- Mode: Manual (M).
- Focus: Manual, set to infinity (use live view on a bright star to check sharpness).
- Aperture: Wide open (f/2.8 or faster).
- ISO: 1600–3200 (higher if aurora is faint).
- Shutter speed: 5–15 seconds.
- Shorter (5–8s) if lights are moving fast.
- Longer (10–15s) if they are faint or static.
- White balance: Around 3500K for natural colors.
- File type: Always shoot RAW (for editing flexibility).
👉 Pro tip: Take a test shot, zoom in, and check for stars. If they look like streaks, your exposure is too long.
🧭 Tips for a Successful Aurora Tour
Scout your location during the day — find an open area with minimal light pollution.
Check aurora forecasts (apps like Aurora Forecast or spaceweatherlive.com).
Arrive early and set up before the show begins.
Dress warmly — nothing ruins creativity faster than freezing fingers.
Experiment — every aurora is different; adjust shutter and ISO as you go.
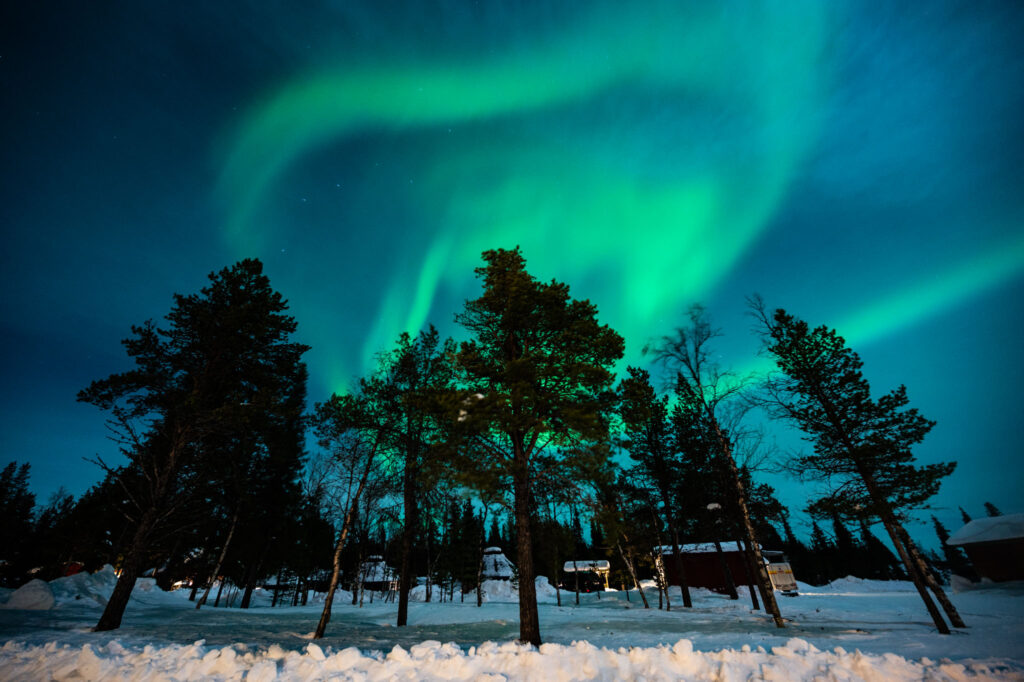
🌍 Best Locations for Northern Lights Tours
- Tromsø, Norway
- Abisko, Sweden
- Finnish Lapland
- Iceland
- Greenland (south and east coasts)
These destinations are popular not just for their aurora activity, but also for their landscapes — mountains, fjords, and forests that add depth to your photographs.
Conclusion
Photographing the aurora isn’t just about luck — with the right camera settings and a few practical tips, you’ll increase your chances of capturing unforgettable images on your next northern lights tour. Remember: shoot RAW, keep experimenting, and enjoy the experience as much as the photos themselves.